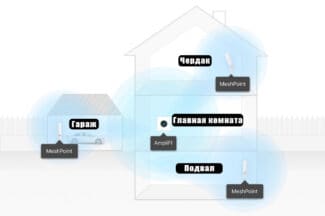
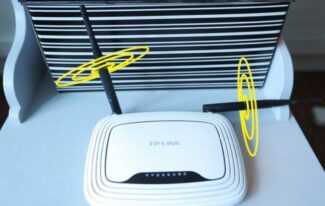
An expensive model of TP-Link, which justifies its cost by a huge maximum speed and the possibility of organizing a Mesh-network. Two or three of these routers will provide a stable access to the Internet in almost any house!
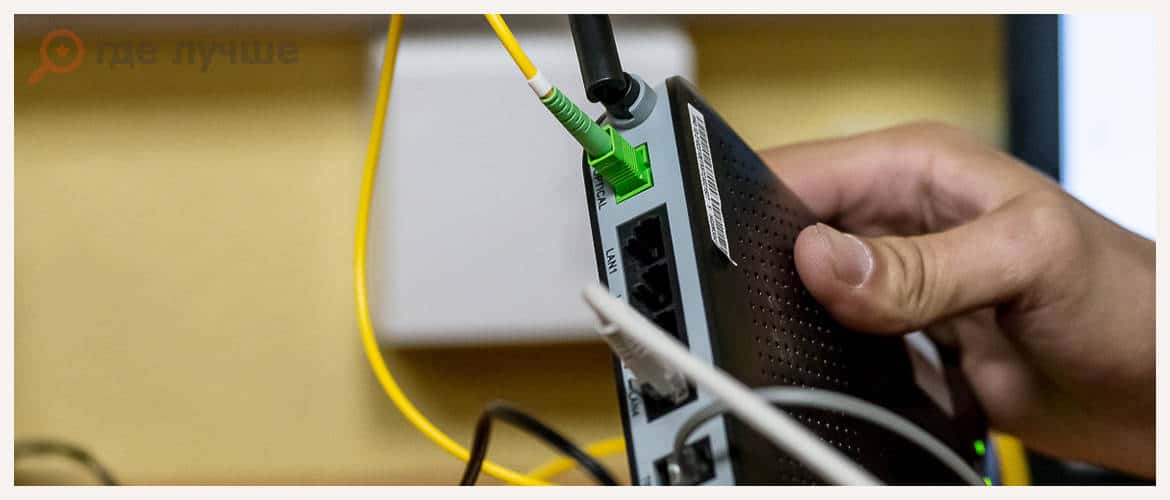
How to build an Internet in an apartment

ADSL – it is an asymmetric subscriber line. It works through a telephone cable. To connect to a computer or Wi-Fi router, you need a modem.
Previously, you could only go online with a copper telephone line. Back then, movies were downloaded for weeks, and modems were very noisy. You couldn't use your phone and Internet at the same time.
Then came ADSL connections. It was over the same telephone line, but different frequencies were used for modulation. This made it possible to have an always active connection and a free phone. Internet became faster, modems became quieter.

This type of connection is suitable if you already have a telephone line and do not want to run other cables into the apartment.
- You have to pay a monthly fee for the phone and Internet.
- Low data transfer rate.
- Necessity to use a modem.
- Unstable operation due to damage to the line or active equipment in the area from the PBX to the subscriber.
DOCSIS
With this method you can connect your apartment to the Internet as well as cable TV.
DOCSIS is a standard for transmitting data over a television cable. Setting up the access is simple, similar to ADSL connection, only instead of a telephone cable a TV cable is used.

Like the previous method of access to the network, it is already considered outdated. The main complaints are low data transfer speeds, especially in the evening, when the load on the servers is greater.
Wi-Fi in an apartment building
The main problem with operating a wireless network in a house with several apartments next to yours is that each of those apartments is 99% likely (that is, if anyone lives there at all) to have its own WiFi router. Every router nearby "clogs up" the radio channel with its signal and prevents everyone around it from transmitting the signal quickly and reliably. If you do not go into too boring technical details, it is worth knowing the following: in the settings of the router to select the channel, which is least used by other routers around. Many models successfully select such a channel automatically, but some may not do it very accurately, so you can find such a more or less free channel, for example, with a mobile app like WiFi Analyzer.
But in apartments that are not too big (one to three rooms), usually just one router will suffice – one that is high enough and as close to the geometric center of the house as possible. The main thing is to make sure that you choose a modern model from a trusted manufacturer and with 802.11ac support (as well as with the possibility of simultaneous dual-band operation and support for important MIMO technology).
Things get complicated if the layout of the apartment is such that one of the living rooms is too far away, and the router, located in a convenient place, "reaches" it poorly. In addition, the passage of the radio signal is hampered by thick concrete walls and metal structures. If you encounter such a problem, you will have to spend more money on equipment.
The bottom line advice is simple: if the apartment is not large, in most cases one fairly powerful wireless router is enough, but with all kinds of signal amplifiers and Mesh networks (about them below) is hardly worth thinking about. Well, if the apartment is larger (or the layout makes it so), then we recommend using a router with an amplifier or two routers with Mesh support – they should definitely be enough.
Wi-Fi in a private home
The problem of building a WiFi network in a private home is something else: covering a large area with a signal of consistently high quality and reliability – not such a simple task. If the house is small (one-story and consists of only a couple of rooms), then, as in the case of the apartment, one powerful router will be enough. But even in this case, you'll probably want to use the benefits of civilization in the open air – in the yard. But what to do if there are a few floors and you want to have Wi-Fi access in the garage as well?
There are two ways to solve this problem – with signal boosters or with the help of Mesh network.
An amplifier installed on each floor will automatically boost the power and retransmit the signal of the main router. It's not ideal, but it's cheap enough. It is also better for backyard access – you just need to buy an amplifier that is designed to work outdoors, and mount it on the wall on the right side of the house.
The problem with this approach is that in many cases your devices will "see" several WiFi networks with different signal strengths, and the automatic connection to the fastest and most reliable of them is not provided at all. In addition, the automatic transition from one network to another is unlikely to be carried out (unless the signal of the original network is not lost completely).
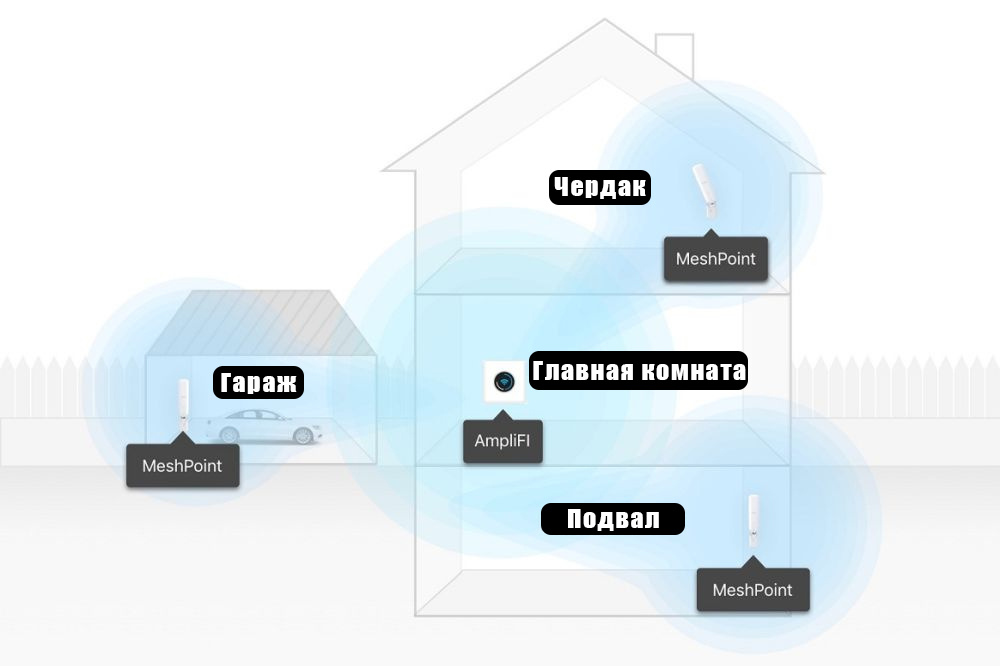
Example of placing a router and amplifiers in a private home
Mesh-network – a modern and much more convenient approach to organizing a WiFi network in large homes and organizations. Such networks are built on the basis of several peer routers, each of which can work together with the others, as well as independently. Your devices will "see" only one common WiFi-network, and switching between nodes will be seamless and unnoticeable (of course, much depends not only on standard protocols, which are the basis for organizing Mesh-network, but also on the firmware and component quality of each router).
PLC in practice
The kit that I have chosen – TP-LINK WPA4420 Kit allows you to connect both Ethernet and WiFi devices (although, again, in the 2.4 GHz band) at the "output" from the socket.

Inside the box you can find two adapters (one a transmitter, the other a receiver and a WiFi access point), two small Ethernet cables, some valuable junk.

Actually, "how everything works" is drawn clearly and understandable (on the back of the sheet is a brief instruction and background information).

In operation – everything is even simpler. We insert the transmitter (small box) into the socket, connect the Ethernet cable to the router.

We place the receiver into the same "socket" line (some apartments have, for example, two different lines from two fuse boxes or even two phases, it is necessary to study the home wiring), look at the indicators. If it blinked "as it should be" (and the instructions say how to do it), it means that half of the job is done.

If it does not blink, press "pair" on the receiver and transmitter. If it didn't work this time too, you should take a look at your electrical wiring and socket architecture. In my case, everything worked out of the box, without any pairs.
Note: in the first comment maksfff fellow shared his experience and said that he accidentally "hooked" into his neighbor's network. So "pair" in any case, so that the pair of adapters creates a secure and "private" network.
Again, at the "out-of-the-box" setting, a pair of adapters generates its own WiFi and distributes it to the surrounding devices, and the login and password are specified on the access point. If you want, you can use the "clone" function of the "native" network parameters: press the WPS button on the router and WiFi Clone on the adapter.
Installation results
Not-so-high-speed 2.4 GHz WiFi is available throughout the apartment, while the living room and the other two rooms have high-speed 5 GHz. Devices switch from one network to the other automatically, no questions asked and no fuss.

In the far room, the computer is connected via an Ethernet cable, which is "wired" through a wall outlet. Internet throughout the house is available, the walls and baseboards are not damaged, HD movies are perfectly sent via DLNA to the TV. The price is a little less than 4 thousand roubles for the version with 500 Mbit/sec maximal speed, about 3.5 thousand roubles for the simpler model with 200 Mbit/sec.

Plus there are additional modules with through sockets, simpler access points that provide only Ethernet (without WiFi) and their faster models. All in all, there is a lot to choose from. And most importantly, all the equipment is compatible and allows you to easily expand the coverage by purchasing additional modules.

Pros:
– Works just like Grandpa Jobs bequeathed: turn it on and use it;
– No setup required, all additional network segments (if you need to expand coverage even further, say, in a country house) are connected with a single click of the "pair" button;
– Allows you to run an Ethernet cable into places where the "classic" method cannot take it (for whatever reason);
– Awesome expandability;
– Variety in price and features.

Cons:
– Requires plugging exactly into the socket, pilots and other extension-filters are contraindicated, because they interfere with the basic principle of the device;
– If you have more than one line of wiring, you have to look for a "common" line for the sending and receiving devices.
Connection process
The process of connecting itself is not much different with each provider. If you know who you want to work with and who will connect you to the Internet, then call them and leave a request for connection. This is the first step, and you can't do without it, even if no one works with your area and you have to put a satellite dish.
Before you connect, familiarize yourself with all the provider's rates. Often, subscribers are offered a tariff with a large discount for the first few months. It turns out to be more profitable to take it than the cheapest of the simple ones. Take it, and when the discount period is over, switch to the one you like.
- Internet Speed. This is the maximum possible speed on the tariff, it does not always correspond to the truth. Depends on the equipment installed in your home, as well as the network load. It is better to check the speed immediately after connection and if it is much lower, then make a claim.
- Additional options. There are tariffs that have telephony, Internet and TV at the same time. They may be cheaper than a tariff without one of these items. Consider all options, even if you don't need something.
- Rent, buy back, or install equipment. If you will be installing equipment from an operator in your apartment, find out right away who owns it and what you can do with it. If you have it in a lease with a ransom, then do not forget to mark a date after which it will pass to you.
They will need some time to process the information. Then the new subscriber will be asked to come to the office or send documents to be signed by a courier. Some companies offer to sign the documents when the installers arrive, but not all are willing to do so. If the subscriber changes his mind, the firm will just drive people back and forth and spend time transporting equipment.

Conclusion
Take care in advance of where you will be laying the wires. The cost of installation includes just laying the wire open, if you want the installers to shove it in the baseboard or do everything with cable ducts, then coordinate this with the office beforehand. Choose a convenient place to install the router that both you and they can get to.
When you first connect to the Internet, when you do not know exactly what you will need, it is worth taking a rental router. When you have used the Internet for a while and understand what you need: Wi-Fi speed, the ability to create your own file server, VPN connection or something else, you can rent it. Before returning the equipment, buy a router with the right parameters and configure it. This way you will always have a connection, and you won't spend money on buying several kinds of routers.
The connection procedure is worked out in all firms, so there are no problems. Overlaps with the arrival of the installers or the setup wizard are solved with a phone call. You should worry about buying a satellite dish because you need a place to install it, so that there was a connection to the satellite, and the dish itself was not damaged by snow or something else.
Read More:


