- Select the network icon in the system tray and click the left mouse button.
- Select the necessary access point in the open panel and connect it. If you use the network on a permanent basis, tick the "Connect automatically" box.
- Enter the password, called a security key, and follow "Next".
Creating a wireless local area network via a Wi-Fi router
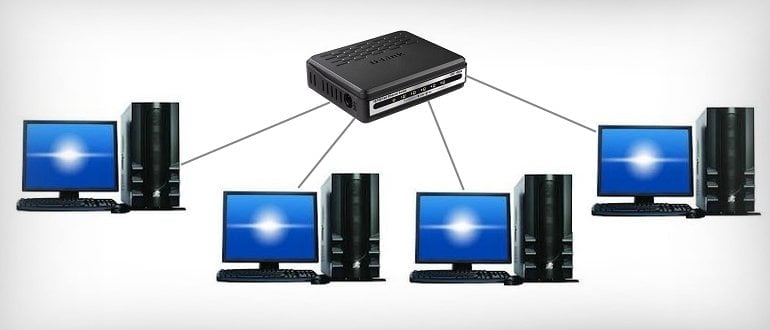
Wireless networks
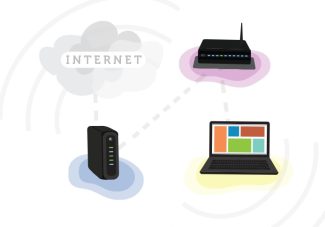
Creating a local home network that connects multiple devices via a Wi-Fi router requires a number of steps. They are not particularly difficult, but to avoid problems should be performed strictly according to the instructions and in a certain sequence.
The need to create a local network via a router
You can do the old-fashioned way of copying files from one computer or smartphone to another, using cords and flash drives. However, in order not to take up your time and not to create unnecessary inconvenience, it is best to unite all the devices, creating a home network via Wi-Fi router.
Having a single network storage will allow you to purchase such benefits:
- rapid exchange of information between devices;
- access to all files on different devices;
- connection for using a printer, scanner, camera and other devices within the network;
- participation in intranet online games.
Setting up Wi-Fi on a Windows 7 computer
If you are using the seventh version of Windows, configure your wireless network using the following algorithm:
- Find the network icon on the system tray, click the left mouse button.
- In the window that appears the list of access points will appear. It is necessary to mark the necessary option by clicking on it and execute "Connect".

- In the opened window, enter the security key – the symbols are visible, so it is difficult to make a mistake.

- Press "OK" and wait for the connection.

If the connection is successful, the network icon will change, the yellow spot on it will disappear. When you click on the icon, several access points may be displayed in the window – in addition to your own point, these are the networks of the nearest neighbors. The connected network will be highlighted – the brighter name of the access point, and opposite – the inscription "Connected".
If the connection was successful, and this access point will be used permanently, you should check the box "Connect automatically". This option saves time every time the computer is turned on or rebooted.
All data except the access key is set automatically by the system.
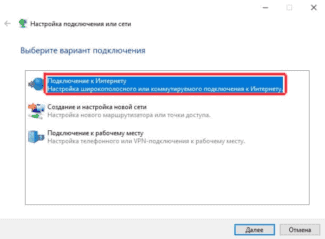
You can choose a more complicated path and resort to manual configuration. This option allows you to work with some parameters of the new connection. You should also start from the system tray by right-clicking on the network icon. Further procedure is as follows:
- Click on "Network and Sharing Center".

- A window with a list will pop up, proceed to setting up a new connection.

- Several options will be offered, among which you must choose the manual setting.

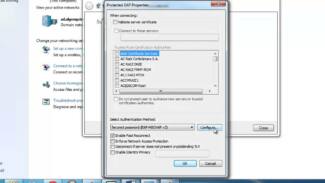
- Another window will appear, where you need to enter the network name, select the security "WPA2-Personal", choose the type of encryption and enter the password.

- The new setting will be available in the system tray, just click on the network icon to access it.
Setting up Wi-Fi on your Windows 8, 10 computer
The procedure for setting up a wireless network on the 8th and 10th versions of the system is almost identical. The algorithm is as follows:
- Highlight the network icon in the system tray, left-click.

- Select the desired access point in the open panel and connect it. If you continue to use the network on a regular basis, tick the checkbox "Connect automatically".

- Enter the password called a security key and follow the "Next" button.

When entering the password, you can see all the characters. To do this, you need to click on the image of the eye – as long as the button is held, the entered characters are visible.
All parameters are set automatically by the system. The exception is the password, which is entered manually. It is enough to do it once.
If the connection is successful, the system generates a request to assign a certain type to the network "Do you want to find in this network…". By selecting "No", the user only allows the Internet on the network. By selecting "Yes" the network allows the exchange of files and other resources.

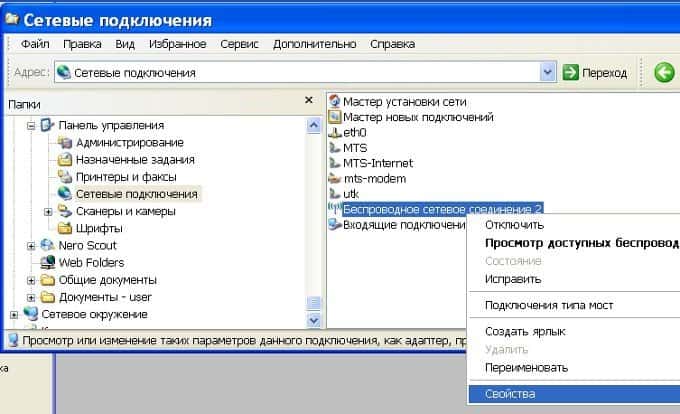
To change the network settings, click on the network icon (use the right mouse button). Then you need to go to the network control center to select the name and connection, click on the properties of the wireless network. You will again see a window where you can make the desired changes.


