Now we have to configure the second router's WiFi correctly. Here we have to figure out what we want first. We can do the same WiFi network name (SSID) as the first router. Then the client gadgets will switch from the first to the second router by themselves when they switch between networks. But then the first and second router's WiFi coverage areas must not overlap, or if they do, then only at the very edge of the coverage area. Otherwise they will interfere with each other.
- How to Connect a Router via Router – 3 Easy Ways
- How to Connect Two Routers to One Network with a Cable
- Scheme 1: Connecting router to router via LAN ports
- Plug the Internet cable into the router port
- Configuring the router and connecting to the Internet
- Go to the control panel
- Configuring the router for other connection types
- The third step. Installing the settings for the Internet
- Step four. Setting up the Wi-Fi connection
- Connecting the router
- If something goes wrong
- Universal approach to Wi-Fi router configuration
- Conclusion
- Video – How to Install and Set Up a Wi-Fi Router
How to Connect a Router via Router – 3 Easy Ways
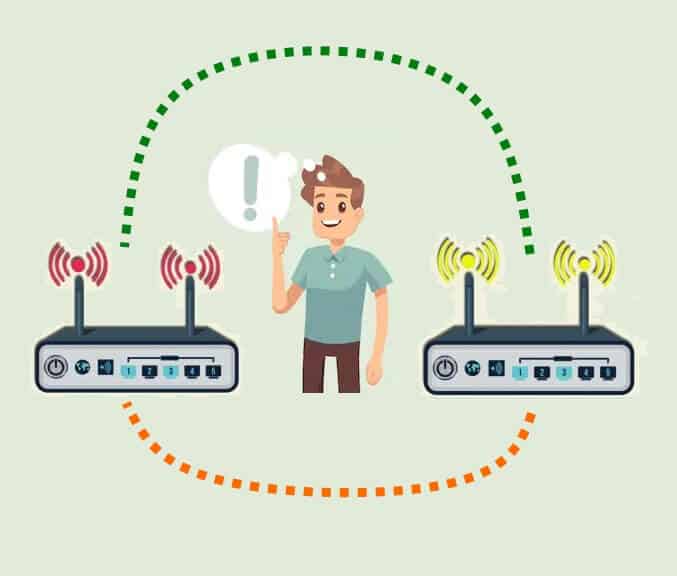
Hi friends, today we have an interesting task – we need to connect the router through the router so that the second could easily distribute the Internet to all devices connected to it with the same ease as the first does. Why this is needed! Well, for example, you need to extend WiFi coverage around your house or apartment to the side where the wireless network does not reach, or reaches with difficulty. Quite often this is used in order to connect the Internet from the neighbors and pay less in the end. You can connect your router to your router via cable or WiFi using one of the methods I suggest below. The cable connection is available for absolutely all models of modern routers, but you can connect two routers via WiFi only if one of them is able to work in WDS or repeater mode. In any case, one of the three ways will definitely help you solve your problem. The main thing is to think with your head and work with your hands! Let's go!
How to Connect Two Routers to One Network with a Cable
So you and I have two wireless routers and we need to connect one to the other to physically have one local network. It is not possible to simply connect two devices with a network cable – the circuit will not work without additional configuration. Before you can do this configuration, you must decide on the connection scheme. There are only two schemes. The first one is LAN-LAN, i.e. it is necessary to connect the routers through LAN ports. This is the easiest and most convenient cable connection that will work in most cases. The second scheme is LAN-WAN, where LAN-port of the first device is connected to WAN-port of the second one. A rarer case is when it is necessary to divide one physical network into several logical ones. Let's consider each scheme in detail.
Scheme 1: Connecting router to router via LAN ports
The simplest scheme is to connect the router through the router by connecting its LAN ports with a cable. Thus the second device extends the network of the first and works as a standard switch-switch combined with an access point of Wi-Fi. The connection scheme looks like this:
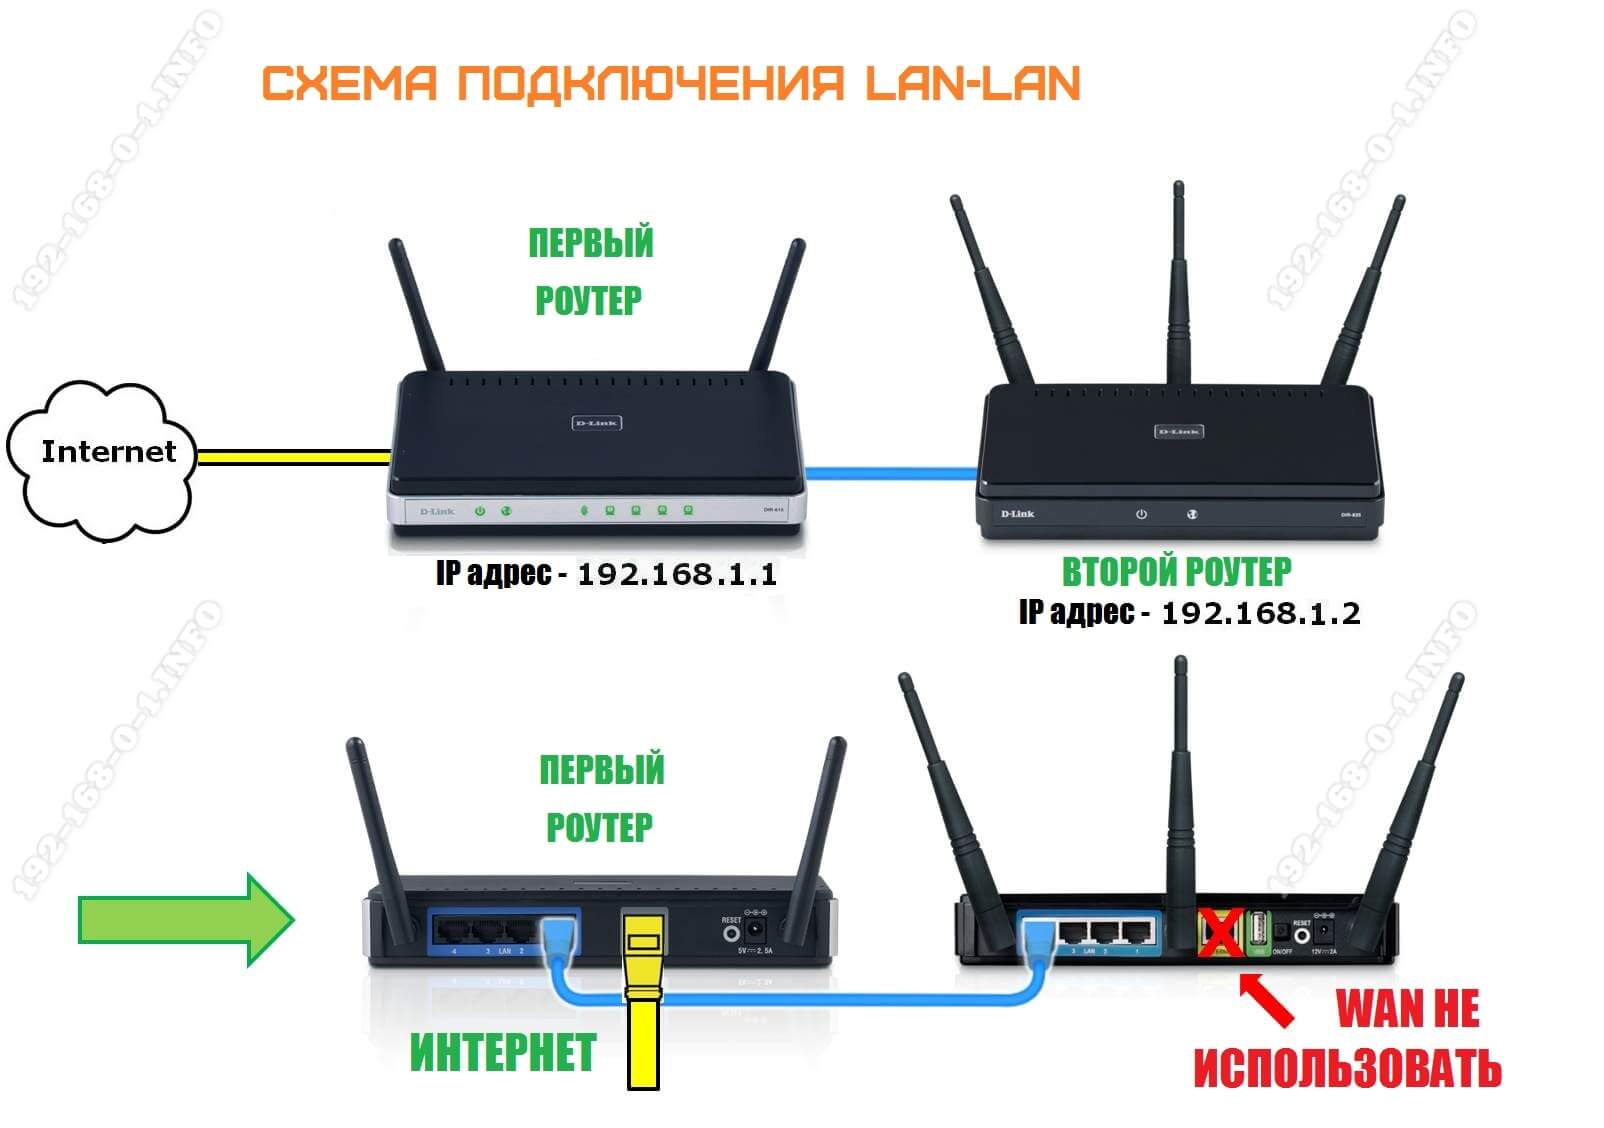
In this case, both routers are connected to the same network both physically and logically – there is one segment. The first router manages the network – raises the connection to the ISP and distributes the Internet. It is the master in this connection. The client devices are given IP-addresses from the same router via DHCP. Please note that the WAN port on the second router is not used at all.
Attention! For such connection to work on the first router there is no need to make any adjustments – it has worked and will work as well.
But on the second router, there is quite a lot of work to be done. Moreover, it must be preconfigured and only then connected to the first one. Let's proceed step by step:
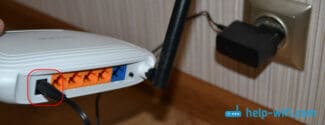
Plug the Internet cable into the router port
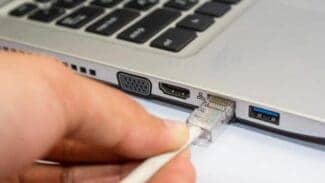
…which is called Wan or Internet (usually highlighted in a separate color). Connect the router itself (or router in another way) to your computer via the L port on the router and the network card connector on the computer.
You can, of course, replace the cable with a wireless connection, but at this point it is better to use the first method. Plug the router into a power outlet. If the router has LEDs, they should light up at this point, if not, look for the power button on the router itself. Wait a few minutes for the router to boot up.
Check to see if the internet is working. If the router was previously set up by your ISP or has an auto-setup feature, it may take a couple of seconds for the Internet to connect. In some cases, the data for access to the network is indicated on a sticker on the router itself. To check, simply go to your browser and run a couple of sites. If everything is okay and the Internet is active, you can go straight to step four.
Configuring the router and connecting to the Internet
To do this in the address bar of the browser you have to enter 192.168.1.1 or 168.0.1and "Enter". Either the first or the second address will take you to your router's settings menu. If they do not work, it will try to find the correct address in the documentation for your router model, by the way, it may also be on a sticker on the device itself. A page for logging in to the router setup system should appear. In some cases, the system will ask for a login and password.
When connecting for the first time, it will most likely be enough to enter the word "admin" in both fields, in some cases the password may be a combination of the digits "1234". If these options do not work, you can find the data on the provider's website or in the router's instructions. What settings you need to configure to connect the Internet at this stage depends largely on the router model, as well as on the provider. It is difficult to give universal instructions here, so contact your ISP's website or the technical support department.
Once you receive the setup instructions, follow the steps in the instructions. And most modern routers will give you step-by-step instructions for connecting yourself. In theory, the instructions will give you the opportunity not only to connect the Internet, but also to configure the Wi-Fi network immediately, so the next point can safely skip.
Go to the control panel
After a successful connection, the user needs to open the browser he usually uses.
-
In the address bar it is necessary to write the following: 192.168.1.1. If everything is done correctly, the settings will immediately open. A "Welcome to ASUS" window will appear. At the bottom of the screen will be a "Go" button.


Read More:A side note! Often the whole process goes smoothly when the ISP uses an automatic IP address. The device configures everything itself. But L2TP, PPPoE and PPTP mean a longer connection process. There is nothing complicated in the actions, but the user will need to enter a number of data manually.
Configuring the router for other connection types
In this case, after checking the connection, the window "Select the type of WAN connection provided by your Internet Service Provider" will appear. This will need to be selected manually:
In the "Advanced settings" tab, find the item "Internet", click "Connection", change the settings, click "Apply"
On this tab you can read the basic settings, the WAN IP address, DNS WAN settings and change them if necessary. At this step we end the connection and configuration of the router ASUS.
The third step. Installing the settings for the Internet
You have to configure the router from the very beginning so that it is properly associated with your Internet service provider, that is, so that there will be no further problems with connecting to the Internet and distributing wifi. In order to accomplish this task you must know a number of parameters, which you should have been given to you along with all the documents by your Internet provider. First of all, such data includes the technology of the connection itself (Static (static), dynamic IP, PPPoE, PPTP, or L2TP), and thus, knowing how the connection works, the parameters of the router itself. This information should be in the documentation supplied by your ISP, but if it is not available, you can check with the technical support. You should verify whether the provider is binding to the MAC-address ..
Tip! If your ISP binds by MAC-address, it is recommended that you contact the ISP and ask it to bind your Internet to the MAC-address of the router. This address can be found on a sticker underneath the router.
This is the most important aspect when setting up a router. If it is not taken into account, then your devices will formally connect to the network, but the Internet itself will not.
- These parameters must be entered on the page "Network"→"WAN". To the right of "WAN_Connection_Type» select one of the connection technologies in the dropdown menu. Then, according to the options available, set the parameters for these technologies: First the name, then the login, a static IP address or DNS. If the address is dynamic, leave the fields blank.
- Once each field has been checked and double-checked for errors and you are sure that the data fits your router, click the "Save" button.
Step four. Setting up the Wi-Fi connection
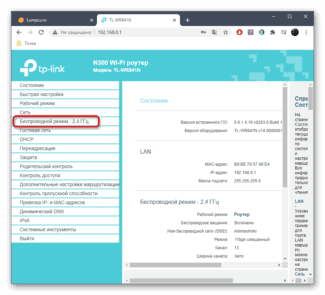
- The next tab that you'll be interested in is the "Wireless" tab.
- Opposite the line "Wireless_Network_Name", in the empty box, write the name of your future wifi network. The name should consist of English letters and (optionally) numbers. This name will be displayed on any device, both mobile and stationary.
- Next, the line "Region»The "Country of residence" field is the name of the country in front of which, as is clear from the name, you must specify the country of your residence.
- When all the fields are filled in, click "Save" and continue.
Connecting the router
To connect the router, we need to connect one of its slots to the Internet, and the other to connect all the household gadgets. All these connectors are located, more often than not, not on the back of the router. Take a look there. One of them should be signed as "INTERNET" and the others as "LAN 1", "LAN 2", "LAN 3", and so on, depending on the number. The instructions are as follows.
- Plug the router into an outlet.
- Take the wire that brings the Internet to your apartment and plug it into the jack that says "INTERNET" above it. Your router is now connected to the world network.
- Locate the network jack on your computer's system box. It is most often located on the back of your computer, near the USB ports where you plug in your flash drives. If this is your home laptop, the network connector is probably located on one of its sides.
- Plug one end of the network cable into this connector. It leads into the network card of that device.
- Connect the other end of the cable to any connector on the router labeled "LAN". Your computer should now have internet access. Use the other "LAN" jacks to connect the rest of your home gadgets.
Tip. The router usually has lights that can tell you how things are progressing. One of them should let you know that the router is online. If you've properly connected the device to the Internet, another light will tell you that. Separate lights will tell you that each of the "LAN" ports is working correctly.
If something goes wrong
Usually this is enough to get a network going on all your home devices. But sometimes something goes wrong. Each situation requires a separate consideration. But most often users have the following problems:
- damage to the network cable (it often happens that it is simply incorrectly or poorly crimped);
- Problems with the network card (it is not on the computer, there are no drivers for it, or it is simply disconnected);
- problems with the router (it is faulty or disconnected from electricity).
Universal approach to Wi-Fi router configuration
Depending on the device model (TP-Link, Zyxel Keenetic, ASUS, MikroTik, NETGEAR, etc.) the process of router setup may have minor differences.
Nevertheless, there is a universal algorithm, following which you can configure any router:
- Connecting the wires and installing the wireless router. Unpack your store-bought electronic device, decide where to install it, and connect the power adapter and other cables necessary to maintain a wireless Internet connection.
- Log in to the software and make the network card settings. After making sure that all the wires are properly connected, you should open the router's control panel and make the individual settings for your network.
- Configure the network to function properly. At this step you connect to the services of your Internet service provider. To do this you will need to remember the data for Internet access.
- Wireless network configurations. The final step involves selecting the type of Internet connection, creating a wireless network access point, entering its name and setting a password.
Help! Keep in mind that the configuration of the router has no differences depending on the Internet service provider (Rostelecom, Domolink, Dom.ru, Beeline, etc.) All of them work on the same principle and differ only by tariff plan.
Conclusion
Thus, independent configuration of routers seems quite feasible. You do not need to have any special knowledge in the field of computer technology. It is enough to follow the basic rules of computer literacy (logging into a web browser; entering a combination of characters into the address bar, etc.).
All router models differ in price segment and characteristics, but have similar principles of operation and settings. Decide on the manufacturer you like and become the owner of a wireless Internet connection in any room.
Video – How to Install and Set Up a Wi-Fi Router


