It is possible that you have bought a router hand-me-down, and it originally had the wrong settings. You may have changed your ISP, so again, the old settings don't work – there is no connection. In all of these cases, you need to know how to reconfigure your router.

Connecting
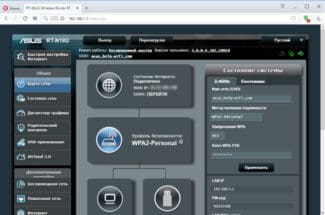
No matter your computer, laptop, phone, tablet or even TV, you can access the router settings from all of these devices. The Internet center has a Web interface for this purpose. So you don't have to install any software or try to get into it cleverly. Everything is much easier.
First, you need to make sure that your device from which you want to log into the router is connected to it. You must be connected to the machine's network, otherwise you won't be able to do anything. There are two ways to do this:
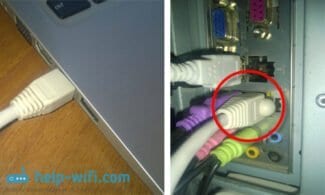
- By cable – you can connect your computer or laptop. Simply take the wire, if it is not already connected, and insert one end into the transmitter, and the other into the network card of the computer or laptop.
- By Wi-Fi – in the device, which has a Wi-Fi module, turn on the search for wireless networks, find the right one and connect.
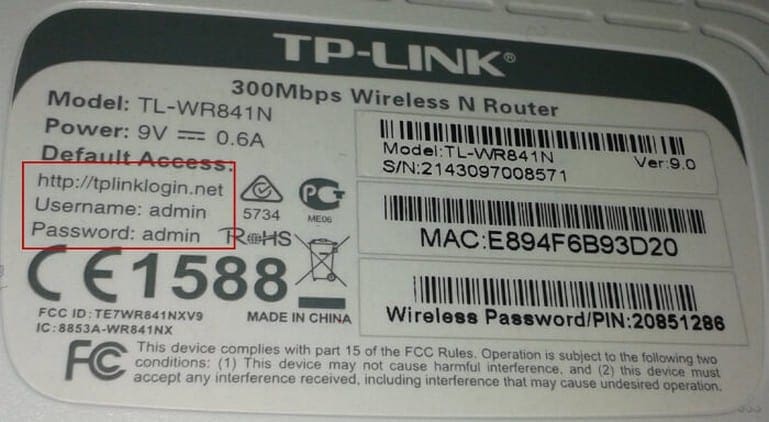
Now to get inside, you need to open any browser and enter the IP or DNS address of the router. The most commonly used addresses are 192.168.1.1 or 192.168.0.1. You can find this information on the label under the case. Also there should be information about the factory login and password from the "admin". But they are rarely used on newer machines.
NOTE! If the address doesn't match and you can't login, skip to the next chapter.

If the username and password don't match, then it's probably changed when you first set it up. If your ISP set it up, call to see what data they might have put in. If they do not give you the desired information, you will have to reset the router to the factory settings. To do this, find the "Reset", "Reset" or "Default" button on the chassis and press it for 10 seconds. The button may be external and recessed into the case.
Not going to the right address
First of all, check again that you are connected to the router. After that, you must go in and check the network adapter settings.


If even after that does not come in, and you're trying to enter from the IP address, then you are likely to have changed it earlier. But then how do you find the router on your Windows 7, 8, 10 computer? – Press + R again, type the command "CMD". You will see a black window – type "ipconfig" and hit Enter. At "default gateway" you will see the IP address to go to.

If there will be a value that does not start with 192.168.x.x, then you are directly connected to the cable from your ISP. If there is no value there at all, then you have not connected to the router.
What to do first
So, first of all, you need to reset all the router settings that were on it before. To do this, the router has a special button called "Reset". To press it, you need a thin object: a toothpick, a pen stick, a needle, a paper clip, a pin, etc. Press the button and hold it for 10-15 seconds. After that, the router will reboot completely and will be ready for reconfiguration.
This action and the following is performed on almost all models of devices. After that it will be better to know or remember the following things:
- Password and login. They are either standard (admin|password), or the password is changed to the serial number. If the unit was installed by couriers from the provider, they most often put just the serial number as the password for Wi-Fi and reconfiguration access.
- Connection type:
- Dynamic IP address;
- Static;
- L2TP;
Device configuration
To reconfigure devices of different models, it is often necessary to do almost the same things. Let's start with them:
- Open any browser on the computer our device is connected to.
- Using the address bar enter: 192.168.0.1, 192.168.1.1. Most often these are the exact addresses, if you have a different numeric code in a similar format on the back of the router or in the instructions, and these do not fit, then try entering it.
- Then a window opens with the fields "Login" and "Password", which must be filled in with the appropriate values. If we use certain types of connections, such as dynamic IP, these data may not be required and authorization will occur automatically.

Then the algorithm varies a little bit for different models.
TP-Link
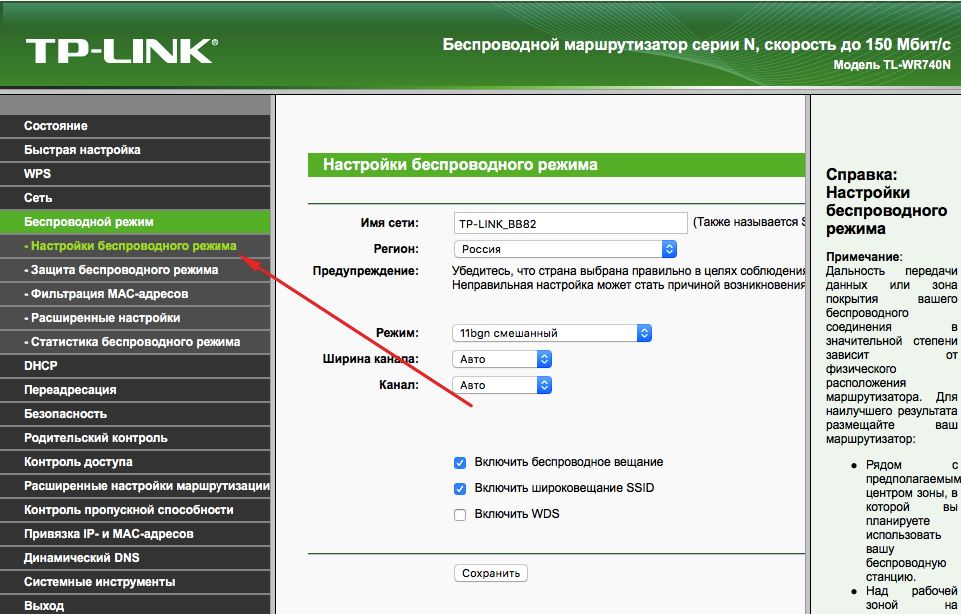
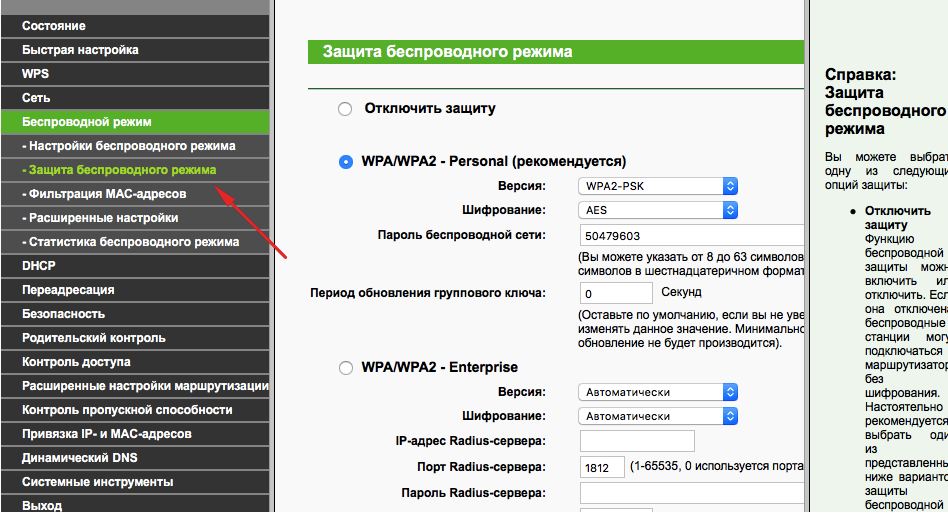
- Then everything is quite simple. Specify a name in the appropriate box, or rather, make one up, then open the "Wireless security" tab.
- Set WPA/WPA2 as the encryption type, and think of a good password. These two steps will ensure the protection of our data.
By the way
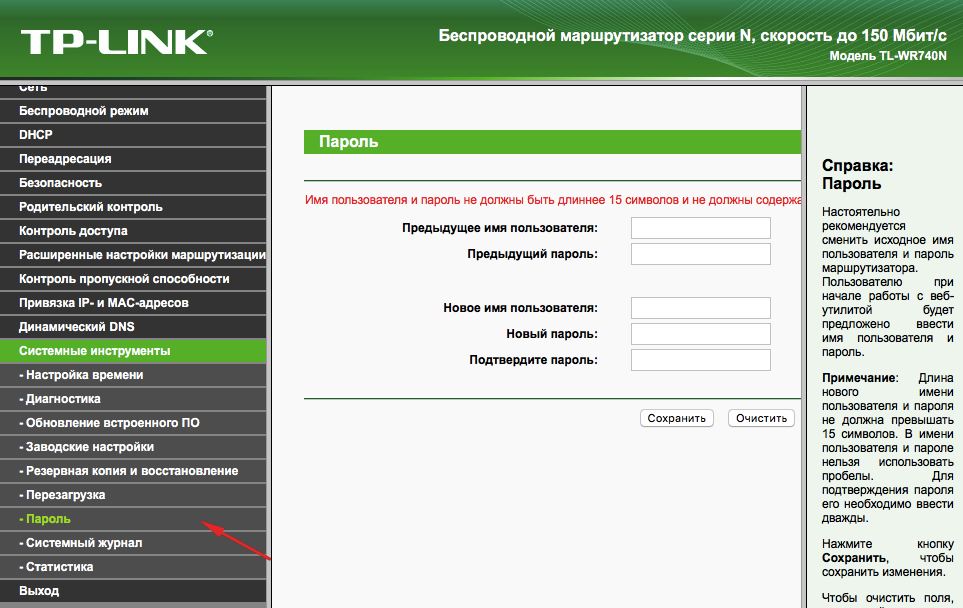
You can upgrade the router firmware using the official TP-Link website. To do this, simply find your model there and download a firmware update for it. Then connect the device to your PC via Ethernet cable. And then in the "System Tools" tab, select the item that deals with the internal software update.
Connecting cables to the router
The algorithm is the same and the only difference that can be found is the connection technology. The two most current connection technologies are now twisted pair FTTB and GPON optics. The first one is now all the high-rise buildings in large cities, and the second is more and more actively covering the private sector.
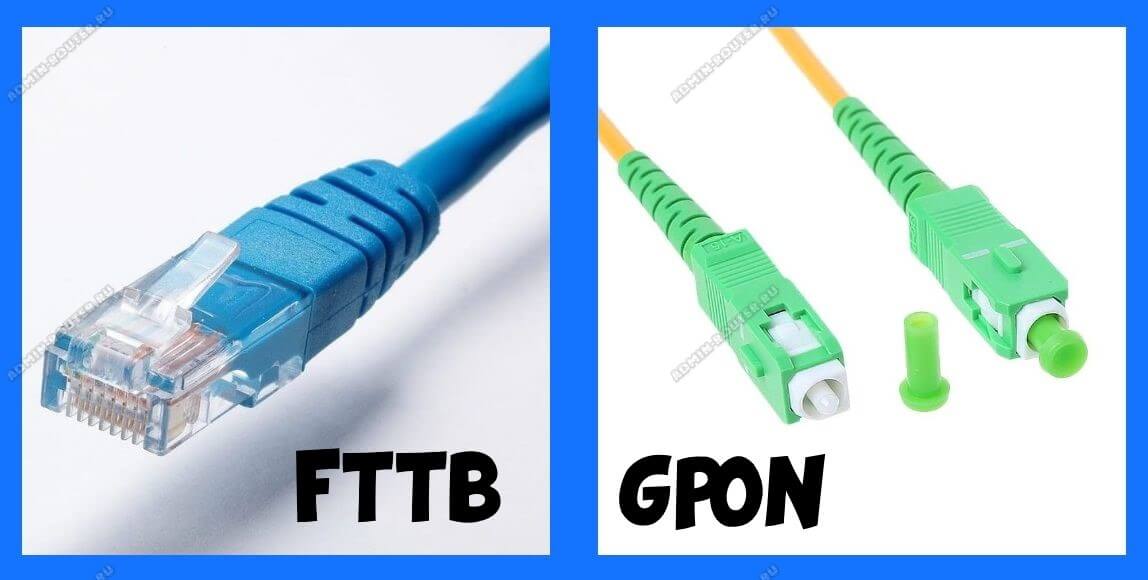
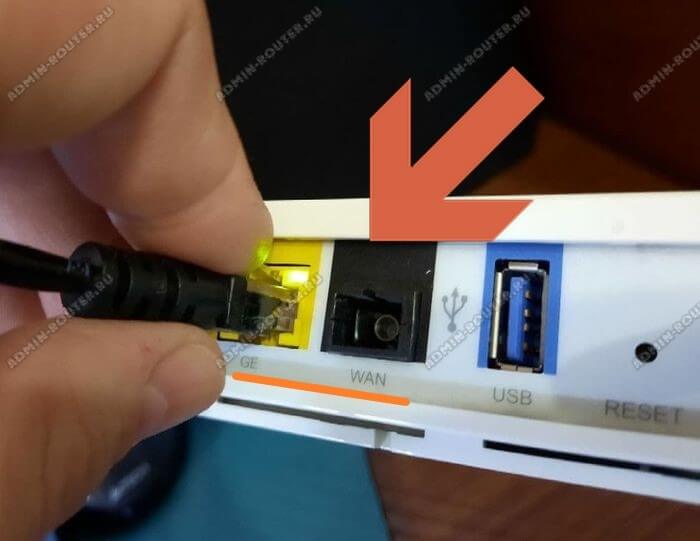
Let me start with FTTB. In this case, the provider's specialists install an ordinary LAN cable from the broadband equipment in the entrance to the apartment. It has to be plugged into the Internet port of the router. There should be no problems with this.
In the case of GPON passive optics in the house is usually introduced optical cable, which then winds up in a special socket, and out of the socket goes a thin yellow cable with a green or blue square connector of SC standard:
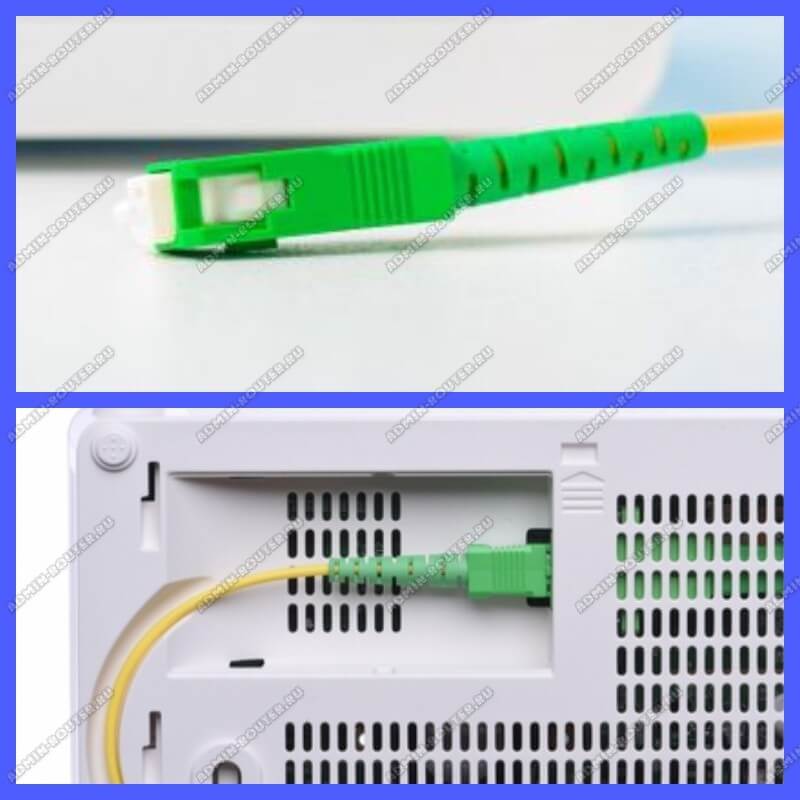
There is a special connector for it in the PON-terminal. So you can't go wrong here either. Plug the connector into the connector until it locks into place.
Attention! Never look into the connector when plugging the PON router in – this can cause laser beam damage to your retina!
Once the Internet cable has been connected to the router, the appropriate Internet or WAN indicator light should light up on the router. Do not be alarmed if it lights up red. It will change to green after the configuration.
How to use the router's LAN ports
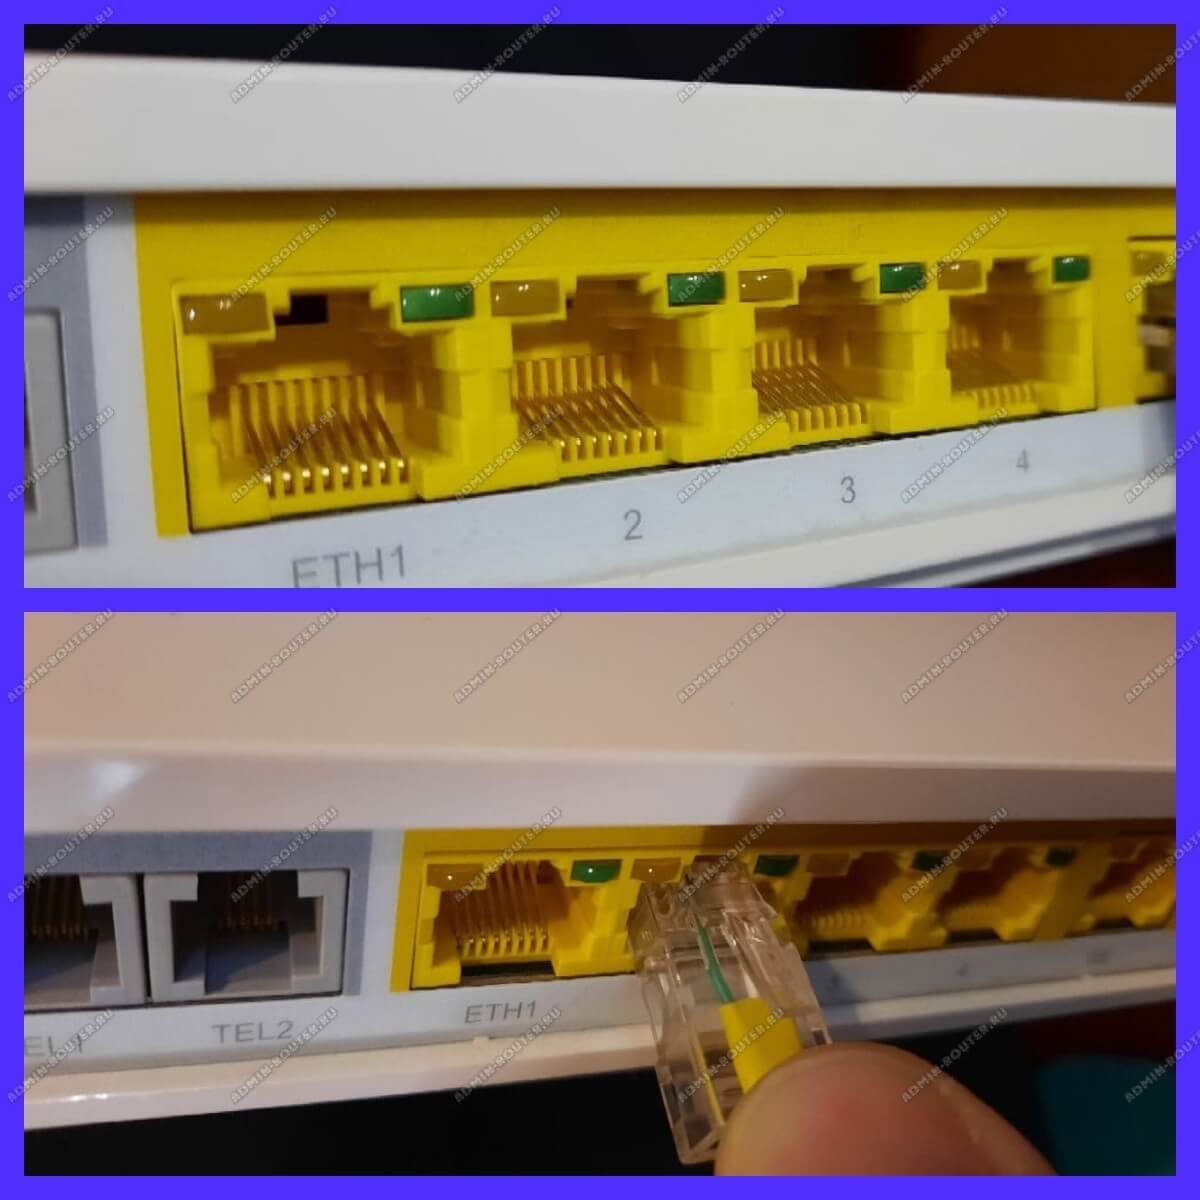
Setting up a router to connect to the Internet
What to do after you were able to connect the router, all the cables are connected and you want to get online as soon as possible? That's right – you need to configure it! Of course, this is material for separate and more detailed instructions. But still a general algorithm of actions I will show you.
We take your Wi-Fi router and look for a sticker on it. Like this:

The address should be written on it, which will open the web configurator. For example, I took the TP-Link Archer router. It may have the IP address 192.168.0.1 or the character address tplinkwifi.net written on the sticker. Enter it into the address bar of the web browser on any device connected to the router. Immediately after that an authorization form to log in to the router should appear:
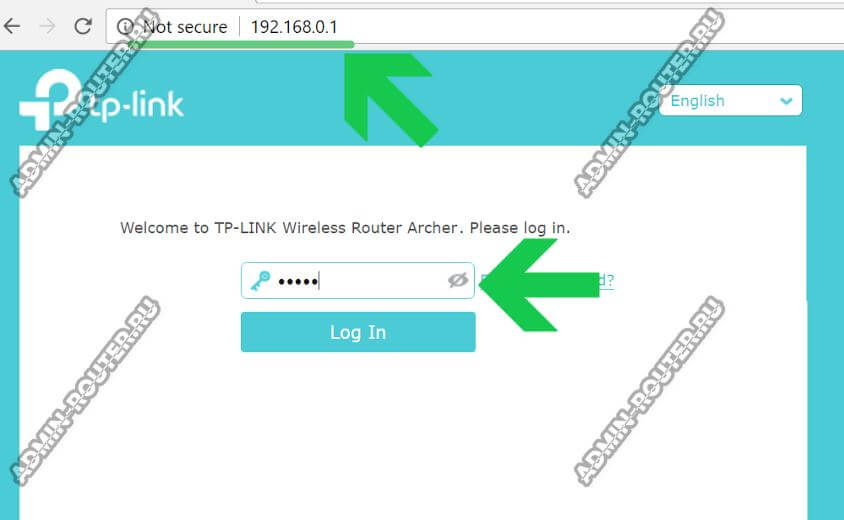
The factory username and password for logging into the router's WiFi settings are also written on the sticker. Enter them in the appropriate fields and click the button Log In (Log In). After that, the Quick Setup Wizard should start on the new router. On TP-Link Archer, you can start it from the main menu by clicking on the "Quick Setup" tab:
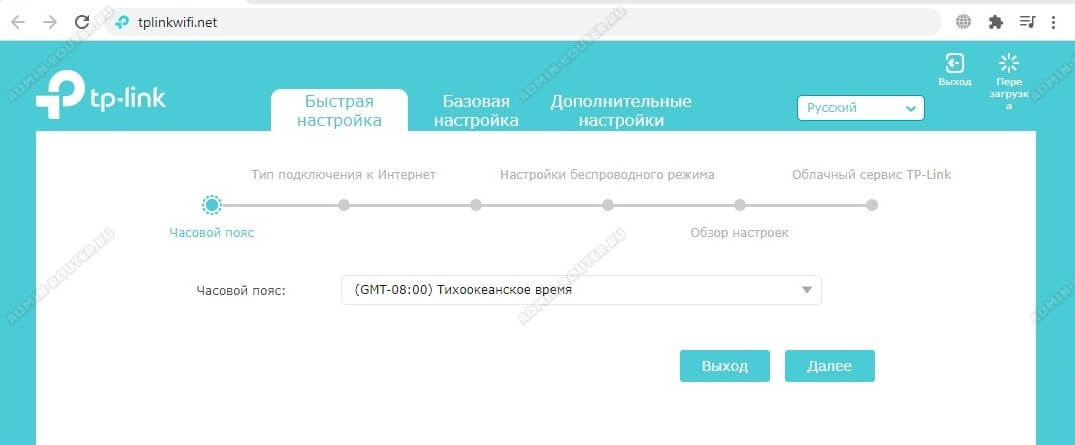
Next, you need to go through all the steps of the wizard one by one. Usually it first asks you to choose the type of connection you want to use. In Russia you usually use either PPPoE or "Dynamic IP" (aka IPoE). You can find out which type you use from the technical support of your provider. Its number must be indicated on your contract.


