How to connect and configure any Wi-Fi router by yourself

- What does WPS on the router mean?
- Benefits of WPS
- Connect your network to your neighbor's Wi-Fi. Or anyone else's.
- Use multiple ISPs on one router
- How to Open and Access the TP-Link Router Interface
- 168.1.1 – ASUS router web interface
- A simple algorithm for configuring the router
- Setting up your new router via cable
- Possible errors when configuring and connecting the router
What does WPS on the router mean?
WPS on the router – what is it? Wi-Fi Protected Setup, i.e. setting up a secure Wi-Fi network, is what WPS means. Some manufacturers use another name for the technology, QSS – Quick Security Setup. Keep in mind that only the letters in the abbreviation are different, in fact the technology used is the same. It is needed to connect the device to a Wi-Fi network without using a password.
The location of the WPS button on the router varies depending on the manufacturer. The button may be located on the back panel next to the power button and cable connectors. As a rule, it will be labeled WPS or QSS. Often, the WPS button can be combined with the Reset button, i.e. if the button is pressed for a long time (more than 5 seconds), the router will go into reboot mode.
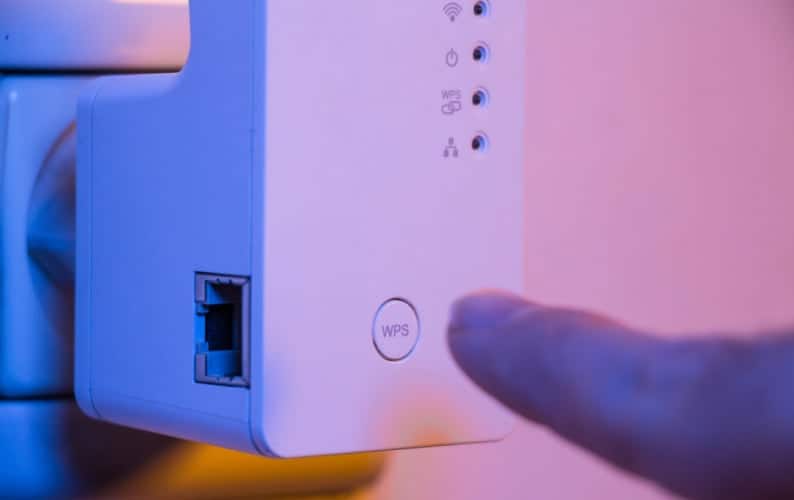
In other cases, the button can be placed on top of the router and marked with a special icon with the Wi-Fi antenna signal.
In some cases, in conditionally nameless routers from a well-known Chinese marketplace, the WPS button may be located on the side edge.
If you have problems with the search or are afraid of confusing something, you can always refer to the manual of your router, which schematically shows the location of the right button (and all the rest, too).

Benefits of WPS
What is the purpose and benefit of WPS? The main advantage of using WPS is that it's easy to connect and you don't have to use a password. This is especially useful if you have guests over and someone asks to connect to Wi-Fi. Instead of having to go looking for a piece of paper on which the installer once scribbled the cherished combination of symbols, you can connect a new user in just a few seconds – just by pressing a button.
The time window for connecting a new device when using the WPS button is very small – just a few seconds. This is the main drawback of the technology. In case not one guest but several will ask to connect to Wi-Fi, it would be easier to give one password to all of them. Because otherwise there will be a queue near the router, where everyone will have to press the WPS button once. That's how it works: one push = one connection.
Connect your network to your neighbor's Wi-Fi. Or anyone else's.
Suppose you're getting a signal from a nearby coffee shop. Or your neighbor kindly gave you the password to his Wi-Fi. Instead of connecting to the network from your smartphone, tablet, or computer, connect to it through a router, and then use the free Internet from the router. This feature is called "wireless ISP" (WISP), and it has several advantages:
- Better signal. If your smartphone's wireless network shows one or two bars and works somehow, the same wireless network from the router will give its full speed, and the connection will be much more stable.
- Safely. You never know what the security situation is like on an unfamiliar Wi-Fi network. By connecting to someone else's Wi-Fi through your router, you're covering up for the security built into it and not exposing your devices and their contents to someone else's network.
- Backup Internet, which connects automatically. If something suddenly breaks at your main provider, the router will automatically switch to a backup channel, and you'll most likely not even notice it and be able to continue using the Internet.
- Backup Internet from your smartphone. Often in case of Internet problems we use our smartphone as an access point. The signal from it is weak and doesn't hit far. Create a hotspot on your smartphone, connect it to a router as a "wireless provider" and you get a good stable connection on all your devices.
Use multiple ISPs on one router
This feature is called Multi WAN. It allows you to connect as many ISPs as your router has ports and additionally add a USB modem.
Let's say you have two Internet Service Providers at the same time. One is the main one, the second one is a backup with the cheapest tariff. It's a good practice to stay online even if the primary ISP has a problem.
So you don't have to swap cables, reconfigure your router or computer, or do other time-consuming things, just plug both cables into the router. Plug the main cable into the standard port (which is usually a different color), and the backup cable into any other port. Set up the router once according to the instructions, and everything will work and switch over automatically.
How to Open and Access the TP-Link Router Interface
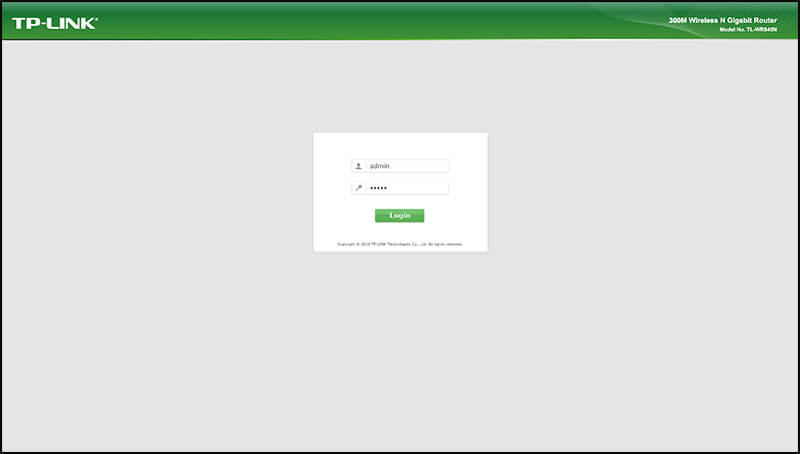
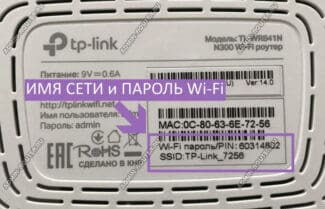
The address to enter the web-interface for the old version is 192.168.1.1; for the new version it's 192.168.0.1. True, the device itself has the usual address, usually tplinkwifi.net. Anyway, you just need to turn the router over and read what is written on the back. There is a sticker with the necessary data.
With standard browsers you need to go to the specified address, for example:
After clicking on the link, the link opens the way to the personal cabinet, where the settings of the device are presented. Only a computer or laptop must access the Internet from this router.
Immediately it will be required to enter a username and password, if nothing has changed since the purchase and installation of the router, then it will be such a link: admin/admin.which is created by the manufacturer.
When the authorization is successfully passed, you can enter the settings. TP-Link usually has today's model, so the interface looks new.
168.1.1 – ASUS router web interface
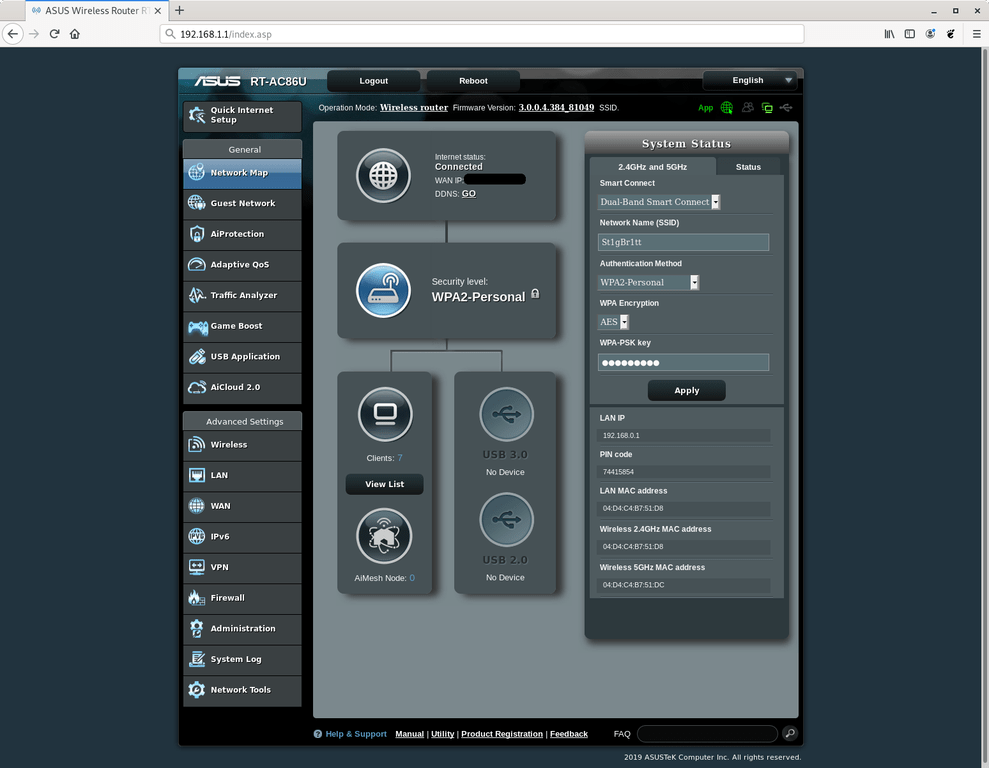
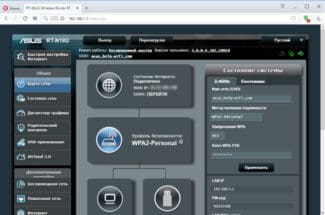
If the device is made by Asus, logging into the web interface is simple. You only need to enter the IP address 192.168.1.1. However, sometimes it is allowed to enter router.asus.com..
So, the computer connects to the router, from which it gets the Internet, and then, using a browser, enter the IP address. If the steps are performed correctly, you will see a window where you must enter the string "login/password". As a rule, it is admin/admin.
After connecting in the specified way the personal cabinet opens, where you can choose the appropriate control language. There are two versions of the interface – new and old. You should take into account the age of the router model.
A simple algorithm for configuring the router
Before setting up a new router, decide at once where it will be located. If you occasionally plan to connect to devices via cable, make sure it is long enough and has a power outlet nearby. If you are using the router solely for Wi-Fi, try to place it in the center of the apartment. Walls, some appliances (such as a microwave oven) can noticeably reduce the quality of the wireless connection. It's best not to hide the router in the upper compartments of a hallway closet – if only so that you always have easy access to it.
Once you've found a place for the router, plug it in, connect the wire from your ISP to the WAN port, and proceed with the settings. You can do this either via cable or Wi-Fi. Let's look at both options.
Setting up your new router via cable
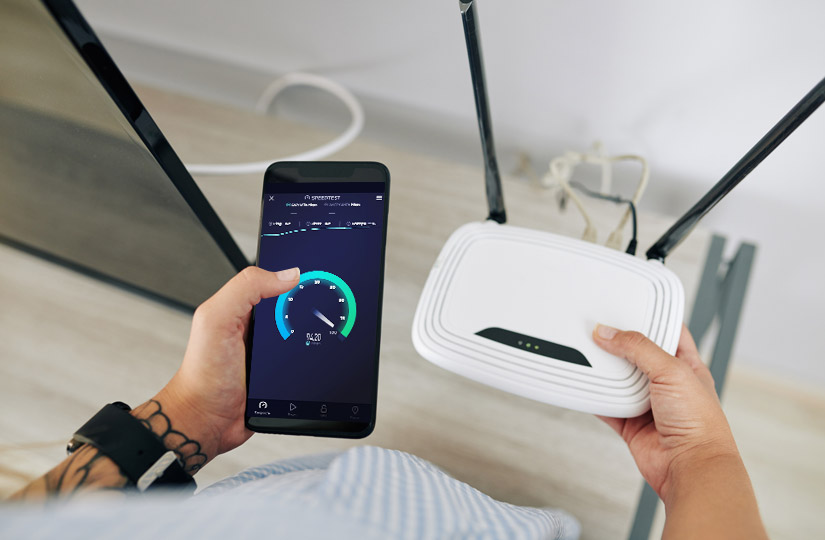
If you have a computer or laptop, and your chosen location and cable length allow you to connect the router to the device directly, it's always easier to do so.
1. Connect one end of the cable to the LAN port and the other end to your computer or laptop.
2. open any browser. On the back of the router, there is default login information: username (login), password, and network address (IP). You must enter the latter in the address bar of your browser. If this information is not available, enter 192.168.0.1 or 192.168.1.1. The admin panel will open and you will be able to enter the username and password indicated on the router.
3. In the admin panel, there are tabs for quick setup, Wi-Fi settings, security settings, and the network itself, where you can configure the connection with your ISP according to certain parameters. The automatic quick setup options are quite sufficient for the normal operation of the wireless network.

Possible errors when configuring and connecting the router
- Local network is not connected. Go to "Adapter Management" (right-click on the connection symbol and go to "Network and Sharing Center" – "Change adapter settings") and check the tab "Local network connection". If the adapter is off, turn it on.
- There is no automatic acquisition of IP address and DNS server. To enable them, go to "Control Panel" of your computer/laptop – "Network and Internet" – "Network Connections" and check the properties of the active connection (tab "IPv4" – drop-down tab "Properties" when you double-click). If automatic IP and DNS retrieval is turned off – turn it on.
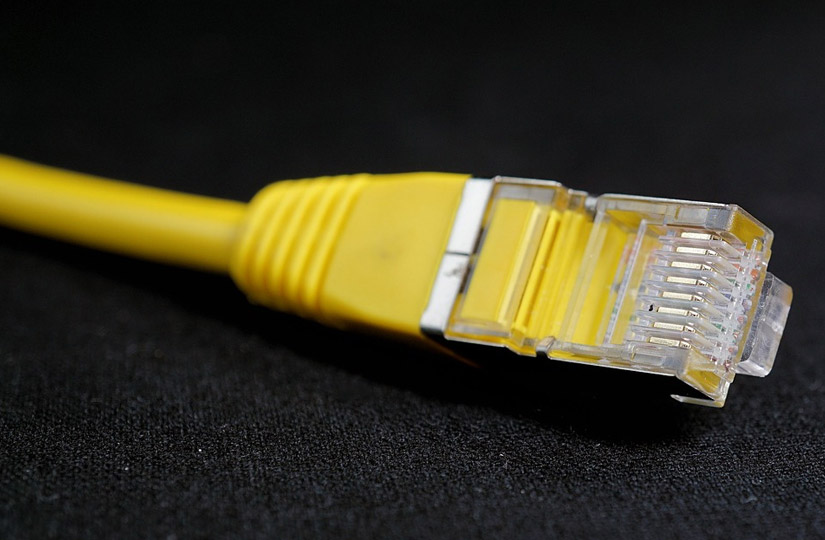
- Faulty cable or LAN-port, in which it is connected (if the configuration is done via cable). In this case, when connecting to a laptop/PC, the status will not change, but remains crossed out with a red cross. Try moving the cable to a nearby port (or test a different cable).
- The network card driver is not working. In this case you need to update or reinstall it.

- Unfortunate location of the router: physical obstacles, household appliances nearby.
- Overloaded network: if the capabilities of the router allow, switch to the less loaded 5 GHz band (we wrote about it above).
- If you don't see any reason for a weak signal, contact your ISP.
You don't need super-secret knowledge or skills to set up a router yourself. Anyone can do it, even on an ordinary smartphone. However, for convenience and simplicity, we recommend that you always use a laptop or computer for setup.
Read More:

