Advantages and disadvantages of homemade wifi. Wi–FiWiFi-adapter with their own hands: from a USB-modem, phone or tablet. Step by step instructions for self making Wi-Fi file receiver for TV set.

- How to choose a Wifi module for your laptop – form factors and parameters
- Reasons for replacing the Wi-Fi module
- What kind of Wi-Fi module to look for
- PCIe Form Factor
- Express Card
- How to Connect a Wi-Fi Module from a Laptop to a PC
- Choosing a laptop to PC adapter
- PCIe-miniPCIe adapter
- Wi-Fi lock with app. DIY
- How to connect a pair of roller shutters over three wires and control them with a voice assistant
How to choose a Wifi module for your laptop – form factors and parameters
Wifi module is a special hardware adapter that allows you to receive a wireless Wi-Fi signal from a router. It is often used in laptops and other portable devices as a device built into the motherboard. Modules also include built-in access points, repeaters and other devices that broadcast the Internet using a wireless signal. In this material will be considered: what is a Wi-Fi module for your laptop, how to replace Wi-Fi for your laptop.
Completely replace the Wi-Fi module is not very difficult, because it is easily removed from the board and replaced with a serviceable one. All you have to do is remove the back cover on the laptop by first removing the battery and unscrewing all the screws, then unscrew the motherboard and turn it over. Sometimes it is not necessary to do this, because it can be located on the front side of the motherboard.
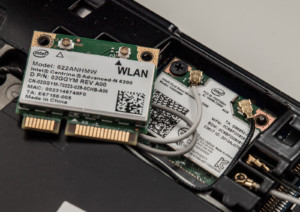
Important! The module looks like a flat rectangle, screwed on two screws and connected with two wires to another board.
Reasons for replacing the Wi-Fi module
Usually, such a device is replaced for the following reasons:
- The laptop Wi-Fi module has failed due to breakdowns or has been knocked out by power surges or a thunderstorm;
- Replacement of the adapter due to the fact that it is obsolete and can not cope with the upgraded laptop, work effectively in tandem with modern "stuffing", to support new communication standards, such as 802.11ac.
This list is exhaustive and there are no more reasons. If someone at a computer or laptop store or service center told you that the module needs to be replaced periodically, it's a lie. Either the module is broken or obsolete.
What kind of Wi-Fi module to look for
After it has been decided to replace the module, you should determine the manufacturer and model of the device. The replacement procedure is very simple and below it will be described how to perform it without problems and big time expenditures. First of all, you need to choose an adapter in a computer accessories store or on the Internet.
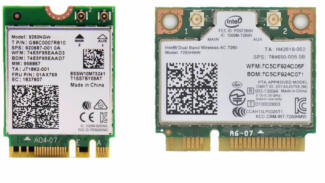
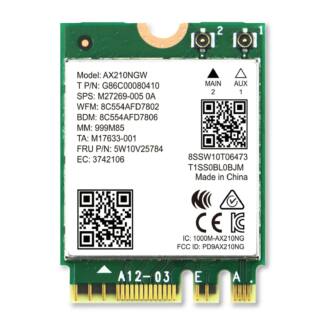
It is necessary to be able to distinguish between adapters, as there are internal and external models. For a laptop is ideal for a built-in adapter, as it does not take up space on the surface, does not occupy the socket of the USB interface, does not interfere and is installed in the computer initially. Such a device is connected to the motherboard of the laptop through Mini PCI-Express slots.
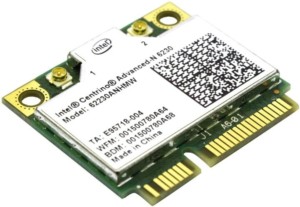
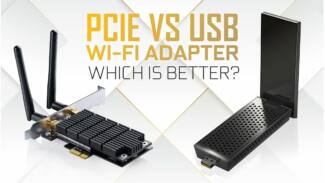
Approximately the same appearance is likely to have the adapter that a person wants to change. External devices are connected via PCI-Express or USB slots. Both of these, one way or another, stick out of the case from the front or back.
PCIe Form Factor
The PCI e interface is designed to replace legacy data buses. There are several versions of PCI used for adapters:
- PCI-X. Rarely encountered and obsolete;
- M.2 (c 2015). Its appearance increased the speed of data transfer, and the number of pins of the connector decreased;
- Micro PCIe. It is used very rarely.
Express Card
The body of most adapters are equipped with external connectors, which quickly add expansion cards. Once they were PCMCIA, and since 2003 – Express Card. Manufacturers have started to use them in the following order:
Important. Devices from other companies are devoid of throwing and the module can be found in different models from time to time.
How to Connect a Wi-Fi Module from a Laptop to a PC
The handheld module is compatible with the PC motherboard through a physical adapter, which is a simple adapter that reassigns the pins needed for the device to work. The only electronic "wrapping" designed to provide power and located on the front side of the PCB is a pair of electrolytic capacitors and a voltage regulator (3.3 V). Almost always two antennas are included. The sequence of steps when connecting a notebook WiFi miniPCIe board to a PC PCIe slot is as follows:
- disconnect the WiFi module from the laptop's motherboard;
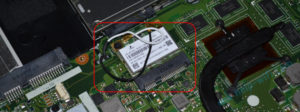
- insert the module into the miniPCIe slot of the adapter, securing it with screws of the appropriate size;
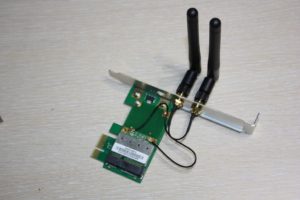
- using the connectors at the ends of the coaxial cables, connect the antennas and the WiFi module;
- insert the WiFi-adapter from the laptop to the PC into the PCIe connector of the motherboard;
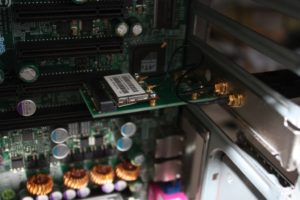
- Set up the device in the operating system by installing the appropriate controller driver;
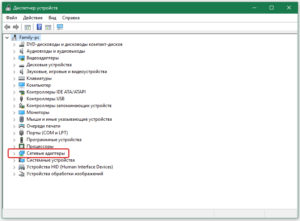
- Configure the connection by entering the name of the home or office wi-fi network (SSID) and the password, then make a connection.
Choosing a laptop to PC adapter
PCIe-miniPCIe adapter
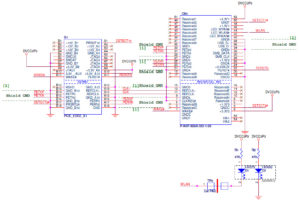
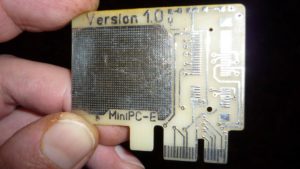
In choosing an adapter that allows you to connect the wireless module from a laptop to the PC, there is nothing complicated, because, as mentioned above, they are the same type of devices. Particular attention should be paid to the presence of antennas in the kit, the quality of connections, tinning and coating of the printed circuit board, because such an adapter has a minimum of electronic components, it can be made by yourself. For this purpose it is necessary:
- prepare a soldering iron, tin, rosin, dremmel with a set of drills, one-sided textolite, parts according to the scheme;
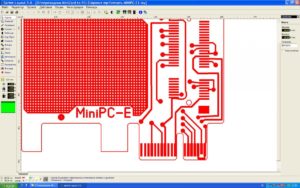
- download and print on glossy paper print of the printed circuit board, for this you need to download the program "SprinterLayout" (archive with the board);
- grind the copper surface of the textolite workpiece with zero-grit sandpaper (strictly to the size of the printed circuit board), degrease with alcohol or acetone;
- attach the printed side of the print to the copper surface and press down with a hot iron;
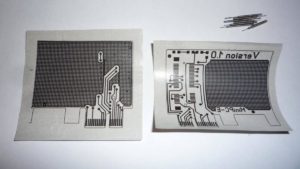
- to cool the resulting blank PCB, soak in water for 20 minutes and remove the remaining paper from the print, you will get an imprint of the tracks;
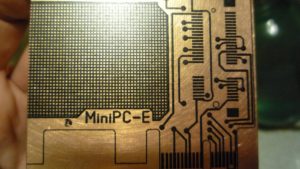
- etch the board in chlorine iron according to the instructions on the package;
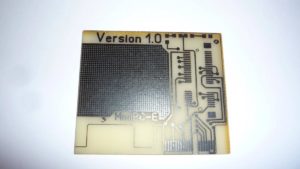
- drill all holes;
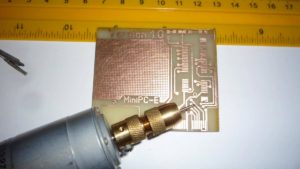
- tin all tracks, install and solder electronic components.
Wi-Fi lock with app. DIY
Made by me Touch Code Lock. In the comments, which wrote that the lock with the display is very conspicuous. Better to make a wireless lock. So I made a new version. lock with Wi-Fi control.
– Statuses: Open, closed, locked, wrong password.
– Locking, for the time specified in the firmware, if the password is incorrect. The number of attempts is also specified in the firmware.
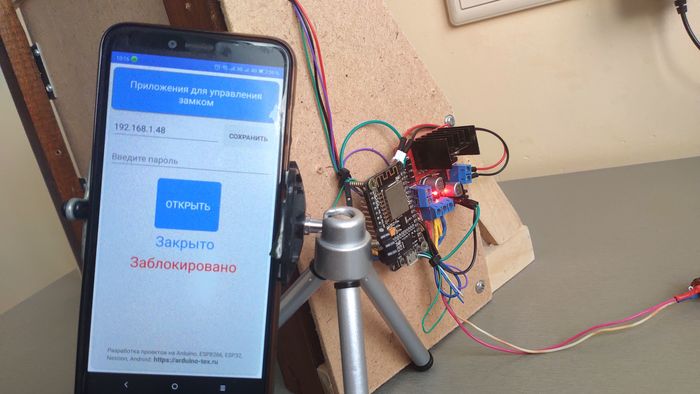
The first thing to do is to configure the Arduino IDE to work with the ESP8266 boards. You can read how to do this here.


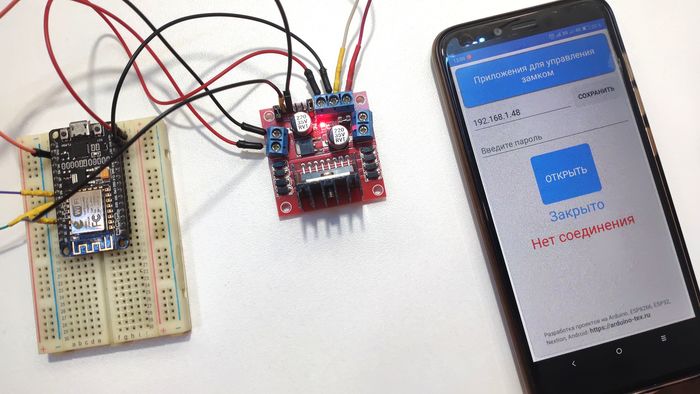
This is my first application in xamarin c#, so please don't judge strictly.

How to connect a pair of roller shutters over three wires and control them with a voice assistant
In this article I will tell you how I had to fix the mistake of the builders who put only one 3-wire cable going to two roller shutters, when I should have laid two such cables. And also about inexpensive WiFi + RF433 MHz control unit for roller shutters and connecting it to the voice assistant Yandex Alice.
I'm finishing up my house, and I recently had motorized roller shutters installed on my first floor windows. To control them, I bought on Aliexpress WiFi+RF433 switches from Moes, with the name "Smart WiFi + RF Curtain Switch" on the package. They cost me 900 rubles for 1 pc. Included in the package is a small manual and two screws for mounting. The panel is made of glass and has three blue light touch buttons. The unit is connected with only 4 wires: L-line, N-zero, Open, Close. The instructions do not mention the work of the unit with Yandex-station "Alice", but as it turned out later, the device is perfectly paired with a smart speaker through the Tuya Smart app.
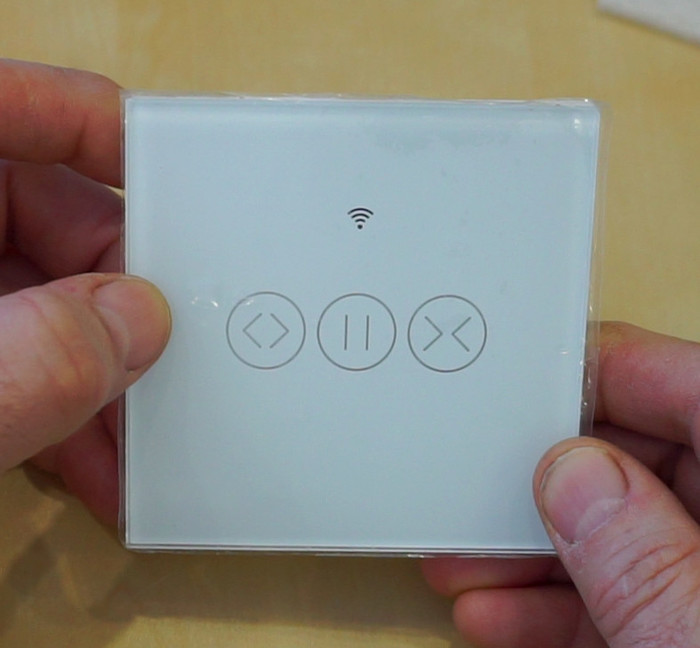
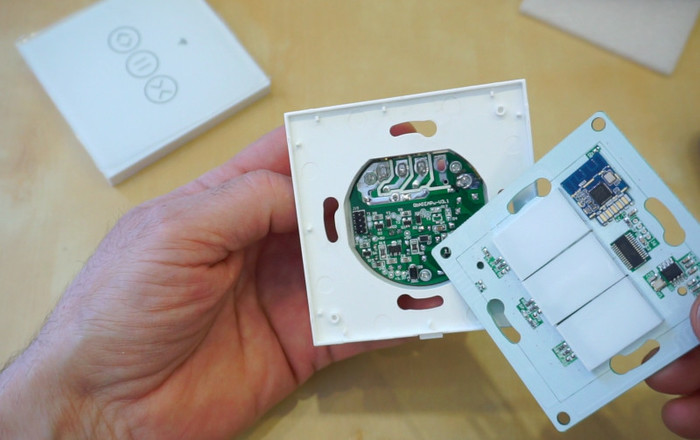
The switch consists of two boards: the top board is a WiFi controller, a 433 MHz receiver, capacitive buttons and two antennas, also bred on the board, and the bottom – is the power supply, screw connectors for wiring, two relays control roller shutter motors. Both boards are connected to each other with the usual double row comb, with a pitch of 2 mm.
